Prototype Product Design – 9 Tips To Get You Started
Developing prototypes can lead you nowhere in product development process unless you are using the right tools and following best practices. These tips are perfect for ensuring that you prototype the right solution that has user experience in mind.
Build interactive prototypes and speed up product design with UXPin Merge, powerful technology that helps designers build a stronger, more collaborative process by importing coded components to design. Discover UXPin Merge.
Figure out Features to Test in the Prototype
Knowing your product’s primary features is critical to your prototype’s success. This is best followed up by checking off some elementary steps before diving into the design process:
- Define and agree on the minimum viable product (MVP) prototype features.
- Establish stakeholder expectations, gather comments, and identify their priorities.
- Engage early with developers on features. Discuss any technical constraints that may make building the product difficult.
- Consider your user’s needs, pain points, and goals are taken into account during the design process.
Define your product’s intended features from the outset. This lets you ensure that your prototype’s design has a clear direction from the get-go.
Plan out How You’re Going to Validate the Prototype
Start with a testing target of three to five tasks per session. And focus on the overall concept and core functionality in the first rounds. You can then move on to those smaller features or specific tasks that are still important but less critical.
Focusing on the right things first allows you to answer the questions that matter most. These questions will assist in defining the goals of testing and give you a view of where your focus needs to be.
- What? Pick the elements and goals you’re testing in a session.
- How? Clearly define and quantify the relevant pass or fail testing benchmarks.
- Why? Establish your hypotheses and assumptions around the prototype’s usability, feasibility, and scale.
- Who? Assign specific testing phase roles and responsibilities.
- When? Confirm your deadlines and timeline targets to ensure you’re on track.
Many people end up prototyping the entire product when they should have focused on the key features that provide the most value. Non-critical sections can always be taken care of later.
Consider Rapid Prototyping if You’re Short on Time
Rapid prototyping can turn a 5-day design sprint into just one. This prototyping tactic is effective for teams under time pressure. It means that while the first prototype iteration may be a little basic, teams can:
- Produce a basic product prototype in a day instead of a week.
- Save time and move into the next phases quickly.
- Ideate together in the same space and at high speed.
- Start testing almost immediately.
Product development and design team members working together on one whiteboard are more productive. And when collaborating in a single design tool instead of hopping between tools, basic prototyping and testing can happen in record time.
Decide on the Product Prototype Fidelity
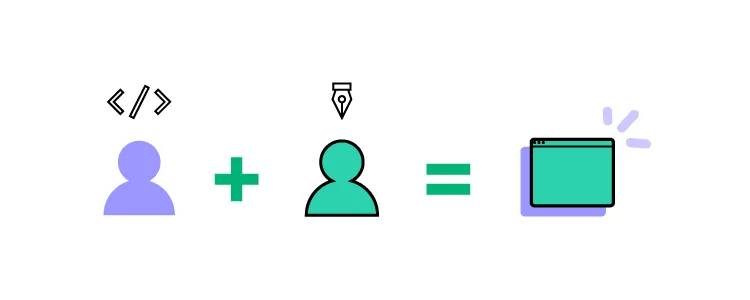
When establishing how closely a prototype will resemble the final product (high vs. low fidelity), it is important to remember at what stage of the product development you’re in. Product prototype fidelity thus depends on the type of prototype you’re designing.
- Low-fidelity prototypes are intended for design teams to brainstorm possible solutions at low cost and effort without committing to any idea. They can be done on paper, digitally, or on a whiteboard.
- High-fidelity prototypes are what is typically shown to stakeholders, startup’s investors or users who are testing the product. Hi-fi prototypes can be in form of a static mockup which resembles a final product or a functional prototype that can be clicked through.
- Component-based prototypes boast a high level of fidelity, because they not only look polished but are fully functional and interactive. Those prototypes are assembled with interactive components that come from coded design libraries.
A good prototyping tool allows you to design prototype versions ranging from low to high fidelity. The ability to present prototypes across differing fidelity levels means more feedback and different perspectives during testing.
Test your Prototypes with REAL Users
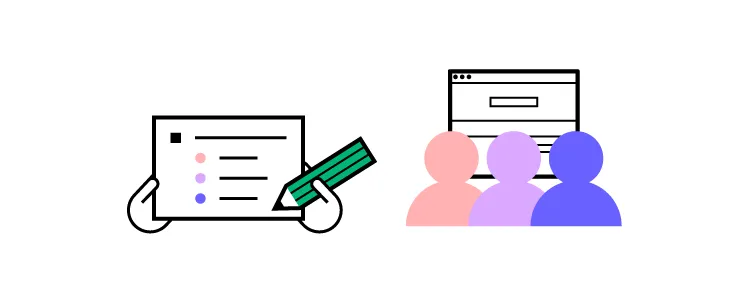
Testing prototypes exposes problems early. But effective testing also depends on whom you use to assess your prototype. Design team and product development members provide critical insights through testing. But they cannot deliver the feedback and input that matters most – what the user will think.
Using real end-product users to test your prototype will allow you to establish what it needs most.
- Decide if you’re testing low- or high-fidelity prototypes early since this will help you to target the right testing objectives.
- Establish the personas and likely user scenarios to understand where and how you should be running your testing.
- Face-to-face moderated tests or usability testing are ideal for validating your assumptions. In-person testing gives you a more accurate result. Alternatively, you can turn to user testing platforms to gain access to a broad market.
The nature of the project you’re dealing with determines how much fidelity you’re aiming for. Low-fidelity testing works when starting from scratch (like product idea or developing new startups). However, if your design system is already up and running – and you’re building a prototype of a new feature for an existing product – you can quickly assemble ready-to-test prototype with UI components.
Fill in Your Prototypes with Real Content
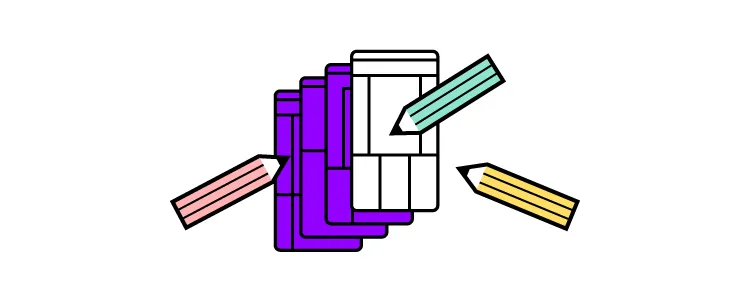
The more realistic your prototype is, the better. Testing your feature or product idea with the actual content that’s intended for the end-product provides better feedback, fosters understanding, and good communication.
Much of the content likely to make it onto the finished product won’t be ready just yet. Instead, consider using content that at least resembles your final product’s copy and imagery.
- Avoid using placeholder text, which can confuse people and leave your prototype feeling vague and generic. If you see the words “Lorem ipsum…” anywhere, swap it out for something else.
- Use the right imagery and visual elements, especially if testers are unfamiliar with you. If you can’t get hold of the necessary logos, images, and icons, do what you can to include similar elements that bear a resemblance instead.
- Deploy related copy if you cannot find someone to generate written testing content in time. Look at associated products or use template content within a similar product category.
A design and prototyping tool that uses realistic content is necessary for comprehensive testing. Give test users a less-generic taste of the product’s user interface elements. Provide a hint of its character, and make your testing easier and more effective.
Iterate and Test
Prototyping means going through the motions over and over. Each time you iterate, you’ll learn something new, spotting and improving issues. The more you test, the more confident you will be that you’re going in the right direction.
- Test your prototype for the first time with an open mind. Anticipate it will fall short of expectations, and don’t be overly critical of yourself.
- Gather information and analyze feedback in minute detail. The closer you look at the test results, the sooner you reach your goals.
- Make changes fast and avoid getting bogged down on arbitrary revisions.
- And test again. And again… and again if need be. Keep testing until you’re certain that the product meets the needs of your users.
Collaborate with Developers

The modern prototype product design process often sees designer and developer efforts overlapping. This can often lead to friction and problems. Cooperation is the biggest factor here. Finding common ground with product developers is vital to your prototyping success.
- Establish timeline expectations, especially where design decisions and testing results may impact already-existing app. By giving developers an idea of when they can expect answers, teams can plan accordingly.
- Communicate effectively from the outset by establishing your communication channels, roles, and contact points.
- Operate from a single source of truth between designers and devs, no matter what. When this changes, ensure everyone is aware and in agreement before proceeding. Check how to establish a single source of truth.
Good collaboration always makes for good product design. Cooperation and effective communication are key to good prototyping process. Thankfully, there are design tools that allow teams to use code-based UI elements in their product design and development process. These tools make for smooth collaboration and open the door to interactive prototyping.
This leads us to the last point.
Select the Right Prototyping Tool

Many designers make the mistake of employing multiple tools in their prototyping process. This can cause frustration and complicate things when transitioning from static design to interactive, coded ones.
With UXPin’s features, resources, and capabilities, designers and developers alike can enjoy the benefits of an all-in-one designing, prototyping, and testing resource. A tool that makes prototype product design easy. Here are just some of UXPin’s features:
- Life-like prototypes which closely resemble the finished product.
- Advanced interactions, variables, or states allow you to present all microinteractions.
- A fully interactive prototyping that not only resembles a look of the product, but also mimics its behavior that’s aligned with existing design system.
UXPin’s superior ability to gather, curate, and present detailed feedback and analysis is game-changing. It means that testing your prototype is more effective and representative of target user needs.
Getting Prototype Product Design Right
Like any good product design process, digital product design demands effective prototype testing. Prototypes that boast interactivity are far better at succeeding than those that simply look good.
Understand your product features and improve your prototyping skills. Define your focus areas and establish your prototyping scope with product developers from the outset. Test using the right subjects and show optimal fidelity along with the right balance of realistic prototype content. Re-test and iterate until you’re happy with your product prototype and find the tools that work for you, your team, and developers.
Designers rely on these interactive prototypes for testing before passing them on to developers. One tool that helps you create interactive prototypes from the start is UXPin. When powered with Merge technology, it also helps you connect design and development processes in a way you didn’t expect.Learn more about it. Discover UXPin Merge.


