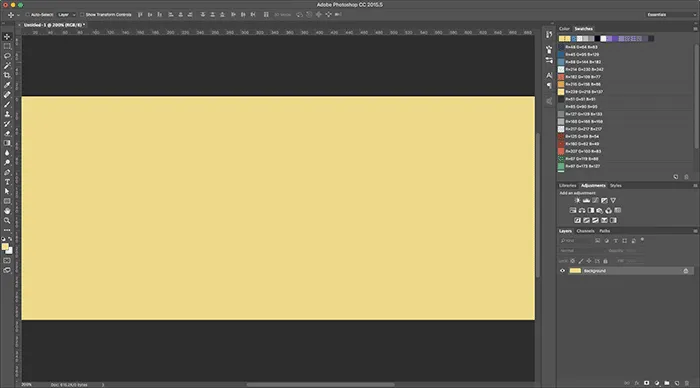
As a UI Designer and long time fan/user of Adobe, I still tend to find myself using Photoshop to create icon sets and mobile/web mockups.
Here are a handful of shortcuts I’ve picked up throughout the past five years to make the everyday design workflow a little easier.
1. Filling a Layer with a Click
Now, this is a really neat shortcut.
You can fill a selected layer with your current foreground or background colors. It’s definitely time-saving.
MAC: Alt+Backspace (foreground) or Cmd+Backspace (background)
WINDOWS: Alt+Delete (foreground) or Ctrl+Delete (background).
2. Copy Layer Styles
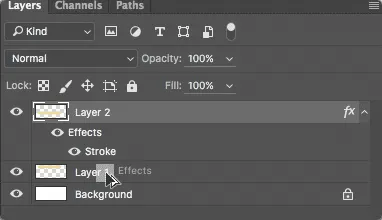
This shortcut is probably something you learned within the first few weeks of learning Photoshop.
Simply hold down the Alt/Opt key and drag the FX icon in the layers panel from the layer with the styles to the target layer – the styles will be copied right over!
3. Shape Attributes
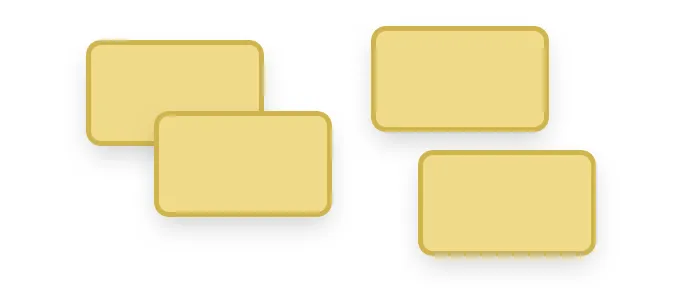
Just like copying layer styles, copying shape attributes is also extremely helpful when needing to design multiple shape elements. When copying shape attributes, you are able to copy the live shape properties of an element such as color and border properties.
To copy shape attributes, right-click on the layer that holds the attributes that you want to copy, select Copy Shape Attributes, then select the layer that you want to paste the attributes and select Past Shape Attributes.
4. Quickly change measuring units
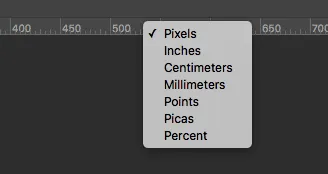
How annoying is it when you create a new document and your measurements are in inches instead of pixels? It’s definitely frustrating to have to go through the breadcrumb trail of Edit>Preferences>Units & Rulers.
But, if you didn’t already know, you can alternatively simply right-click your document’s rulers (if they’re visible) and select the measuring unit of your choice. Easy enough, right?
5. Insert Lorem Ipsum
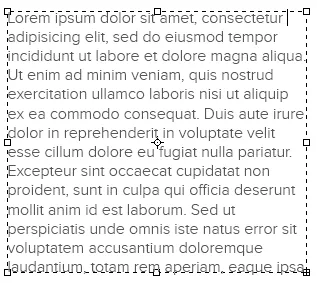
Workable copy isn’t always available for the website or app we’re mocking up. That’s where Lorem Ipsum comes into play.
Now, I used to use Lorem Ipsum generator web applications, but I found out about three years ago that Photoshop has it’s very own Lorem Ipsum function. When you draw a text box in Photoshop, go to the menu bar, select Type > Paste Lorem Ipsum to fill your text box with Lorem Ipsum text.
6. Eyedropper Shortcut
Working with the Brush tool but you need to sample another color from an image? Instead of clicking the Eyedropper tool, simply hold the Alt or Option key to switch temporarily. Release to return back to Brush tool.
MAC: Hold down the Option key
WINDOWS: Hold down the Alt key

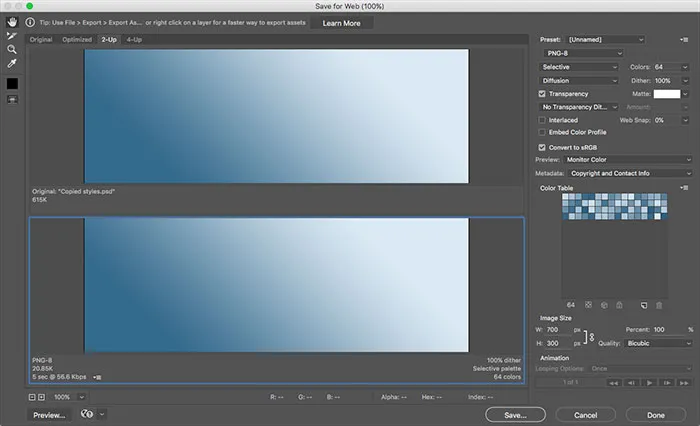
7. Save for Web & Devices
For years, I used the menu bar to access this option and save my designs for web. Solely out of habit. It was only until recently I started using this shortcut. It’s now one of my personal favorite shortcuts.
MAC: Cmd+Shift+Opt+S
WINDOWS: Ctrl+Shift+Alt+S
8. Artboards
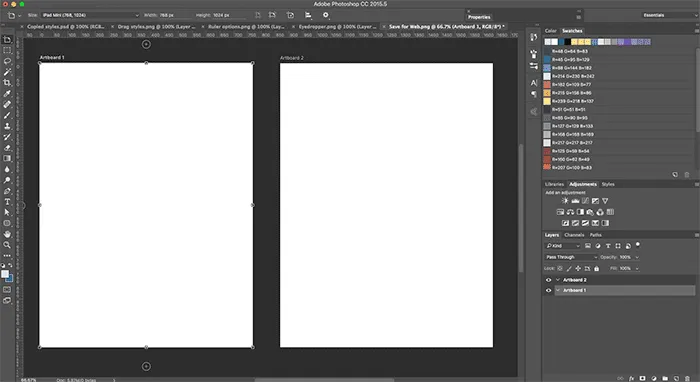
This is a fairly new feature on Photoshop CC. If you’re a UI Designer, using multiple artboards in a single document is an absolute must.
Now you can lay out your separate screen mockups as if you were working in Illustrator. Awesome.
9. Adobe Preview
I absolutely love this feature. It’s a great way to view your designs on selected screen sizes.
I typically use Preview to confirm that every pixel and element in my mobile screen mockups looks pixel-perfect on the device. Just download the Adobe Preview app onto your phone or tablet, make sure the devices and your computer are on the same WiFi network and you’re all set.
10. Copy CSS
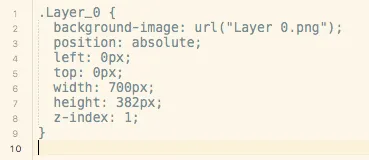
If you’re a UI Designer who also codes your design, this neat feature allows you to copy the CSS of just about every element in your document.
Just right click on the layer of choice, select “Copy CSS” and you then you have a nice snippet of CSS in your clipboard for usage.
Bonus Tip: Prototyping Your Photoshop Design
If you use UXPin, you can use their Photoshop plugin to start prototyping your static designs. Once you’ve installed the plugin, you can create smooth interactive prototypes like the below confirmation animation.
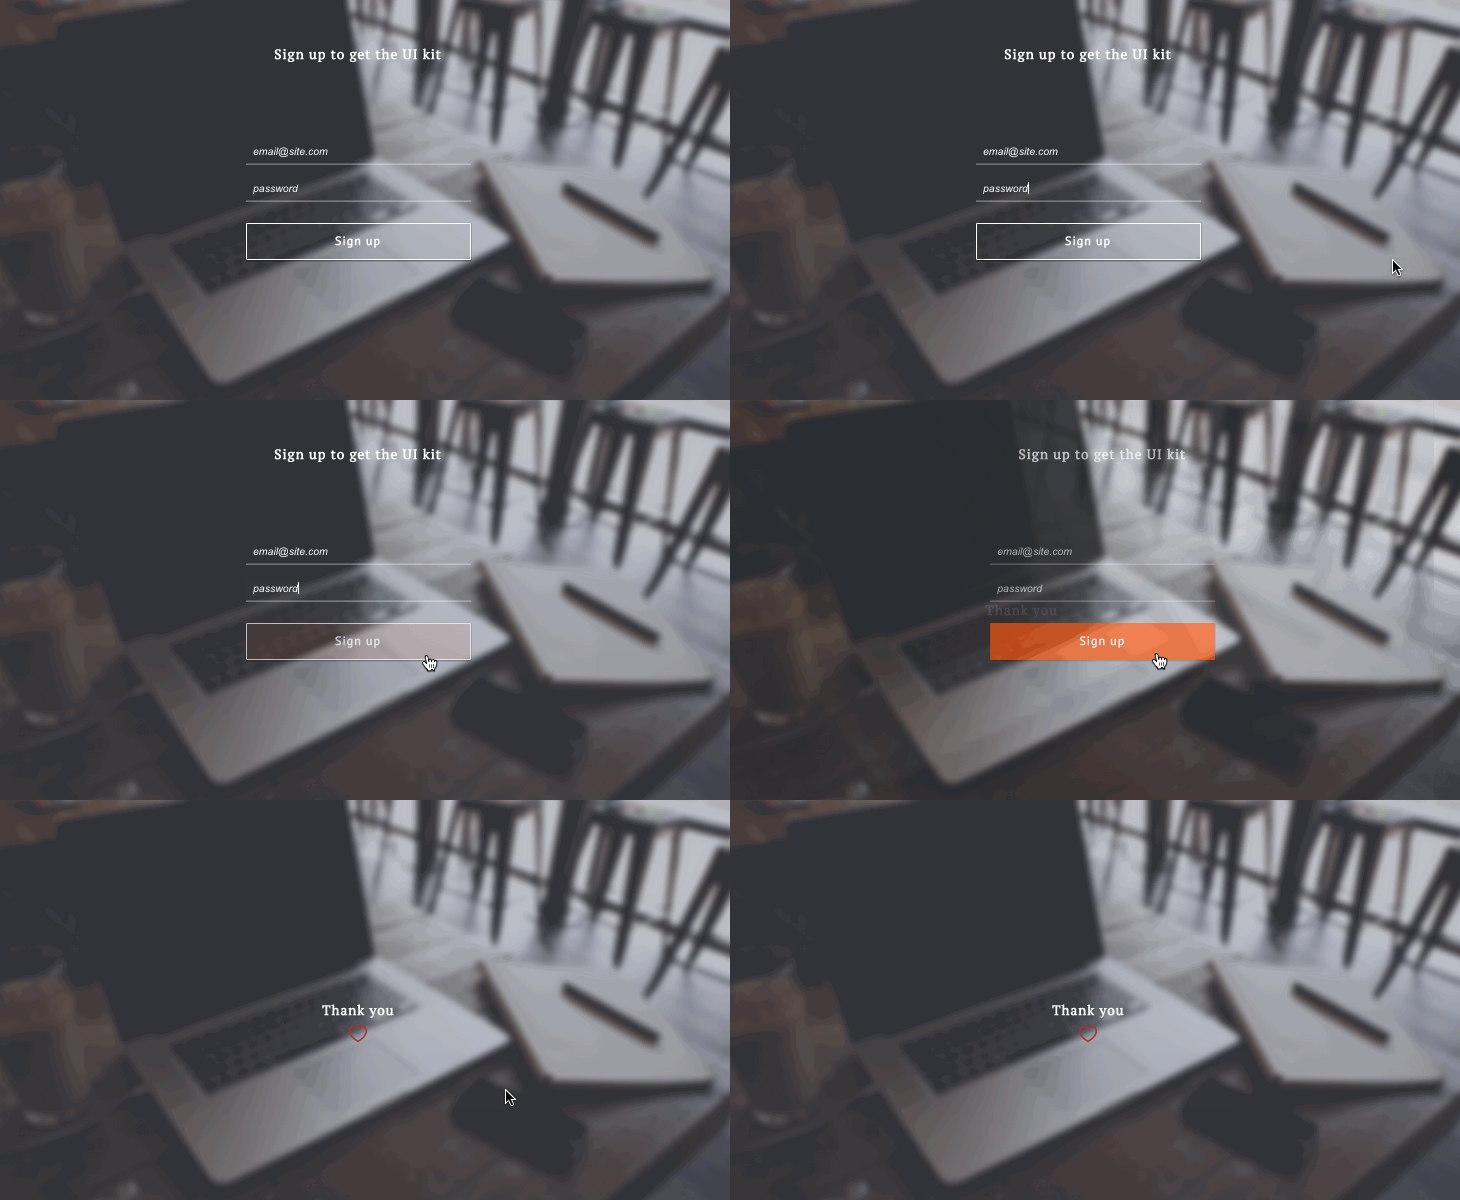
The collaborative platform doesn’t flatten files, so you can prototype any layer. Just drag and drop your file into your project and you’re ready to go.


